Showing posts with label NWCQ group. Show all posts

Wednesday, March 30, 2016

Busy not sewing

Pattern of frost on the conservatory roof
We woke this morning to a frost which quickly disappeared as soon as the sun came up. These photos record the patterns on the roof panels of my conservatory. Really pretty.
Pattern of frost this morning
No sewing in the past few days, although there has been some preparation. Firstly, the book has started to take shape. The first few pages have been linked together with ribbon. The ribbon will eventually be hidden away inside the front and back covers of the book.


Book pages - showing the brown paper backings

I described putting the individual pages together here. The pages have all been trimmed ready for this stage. As you can see, the bright colours alternate with the brown paper backings.

Book - showing the coloured pages, each is different.
The first page - it still needs some lettering and some actual pattern.
The theme of the book is "Pattern". This is the theme this year for the NWCQ group, so it seemed rather appropriate. I sat steadily working on this book at a meeting when most people were working on altered books. It was an interesting meeting to attend, but I really have a problem with altering any book. In my mind I see it a defacing the book rather than enhancing it. Hence my making a book out of what might be termed rubbish.


I also worked on some designs based on flowers for print blocks. These will be used for the next four of my journal quilts for this year. I just need to find a little space to get on with some printing. The print blocks have been made from foam sheets stuck onto foam board using double sided tape. The centre block used part of the foam backing from a ready made pizza, backed onto foam board to give it more strength, My last four journal quilts can be seen here.

Thursday, February 18, 2016

Merrily sewing and printing.

January and February - overprinting in progress.
This week has been rather busy so far. There has been block making and printing as well as the completion of the cushion cover I mentioned last time.
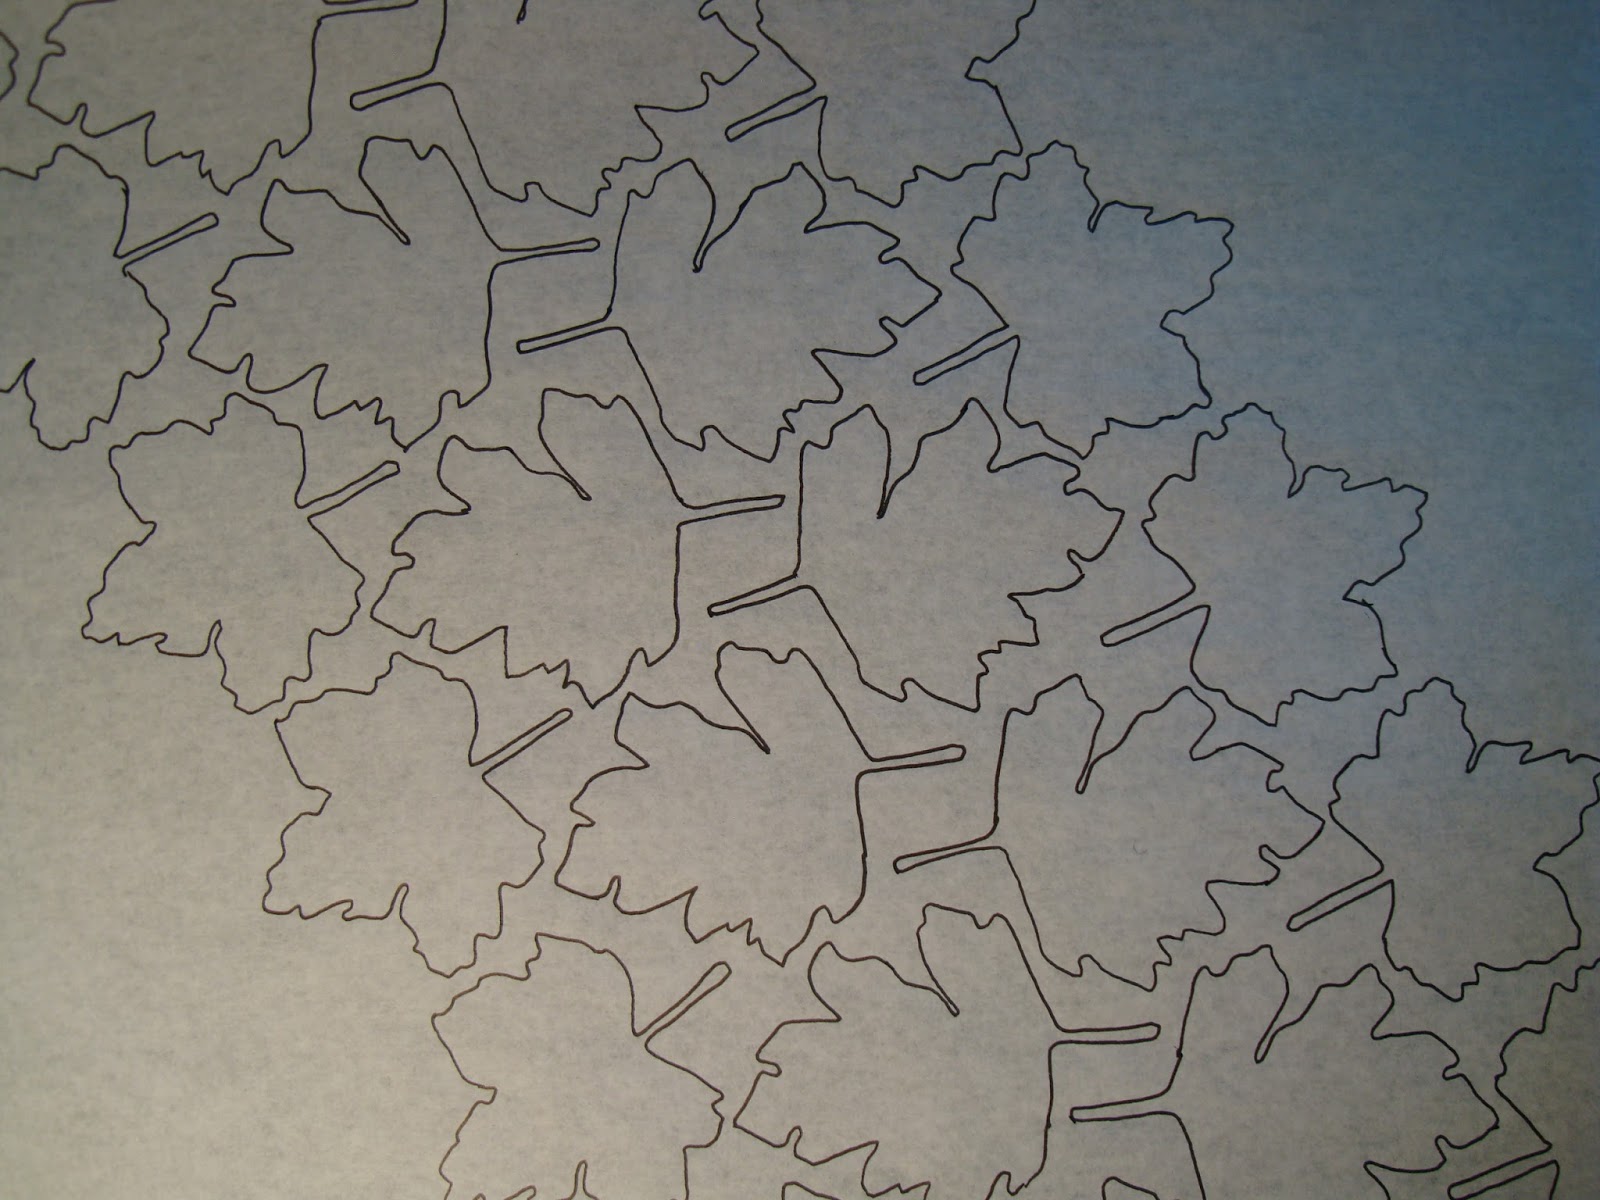
Firstly, the printing and blocks. The design work for these was based on the workshop I went to a couple of weeks back with NWCQ. The group have "Pattern" as their theme for 2016, and I had worked with some leaves preserved since last summer in my flower press. These were quite small - field maple, for example - and I played around with the outlines. In the end I made three blocks all based on the leaf design.

One of my print blocks - based on leaves.
The blocks are made from craft foam, and stuck using double sided tape onto foam board. These were great fun to print with and stood up to the task very well.

March on the left with February - drying.
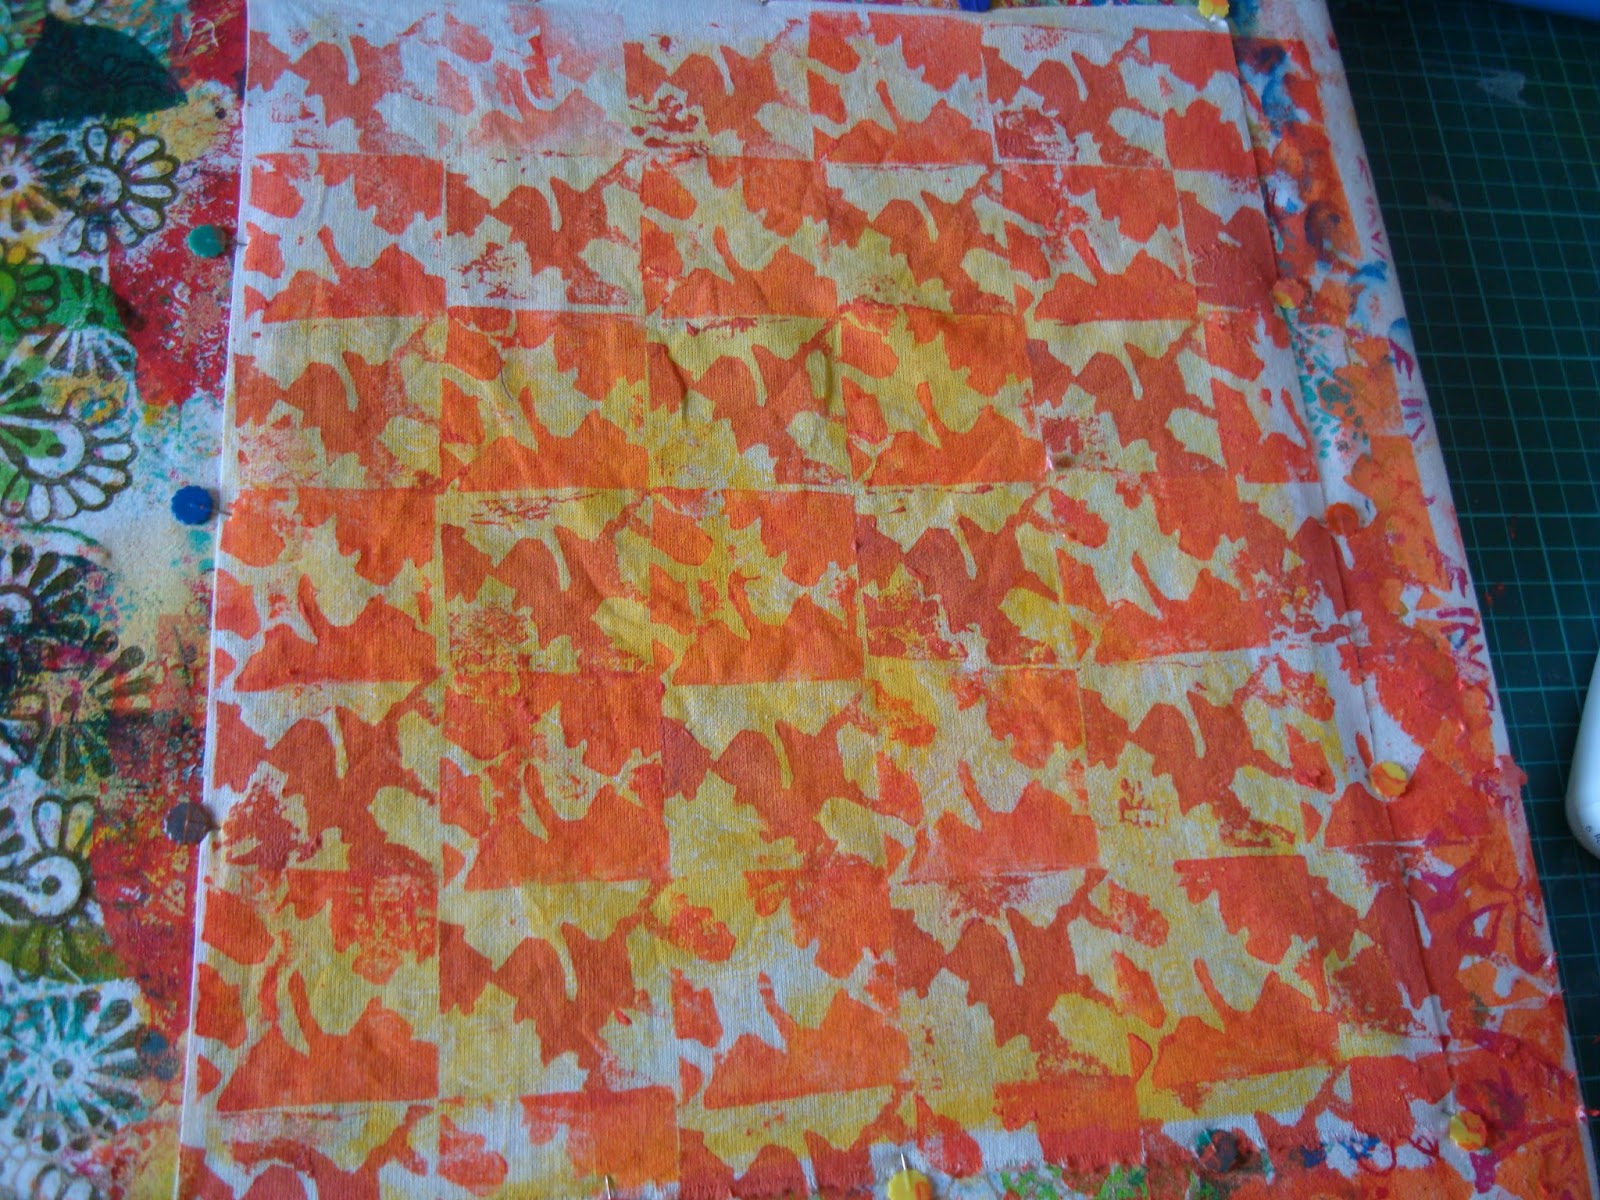
I found it interesting to see the different effects made by the different blocks - one was purely an outline, the others were negative images of each other. The block printing was completed on calico which had already been printed using a gelliplate.

April
My last piece used the two negative blocks on the same piece of fabric. I used two slightly different colours.
Experimenting with printing medium.
What made it more interesting for me, was that I used printing medium with acrylic paints. My fabric paint collection has almost run out and I have been looking for a different method of working. Some months ago, I had tried using the medium in a workshop with Gillian Travis. I found some in Hobbycraft. I did find it rather thick, so added water to get the right consistency for block printing. I haven't used this for screen printing yet. That will have to wait until a later date.
The pieces above will be my Journal Quilts for this year. They are layered and waiting for me to free machine a leaf design over the top. My sewing machine really needs a clean before I can start work, hence my prevarication - writing this blog post instead.

Completed cushion showing piping.
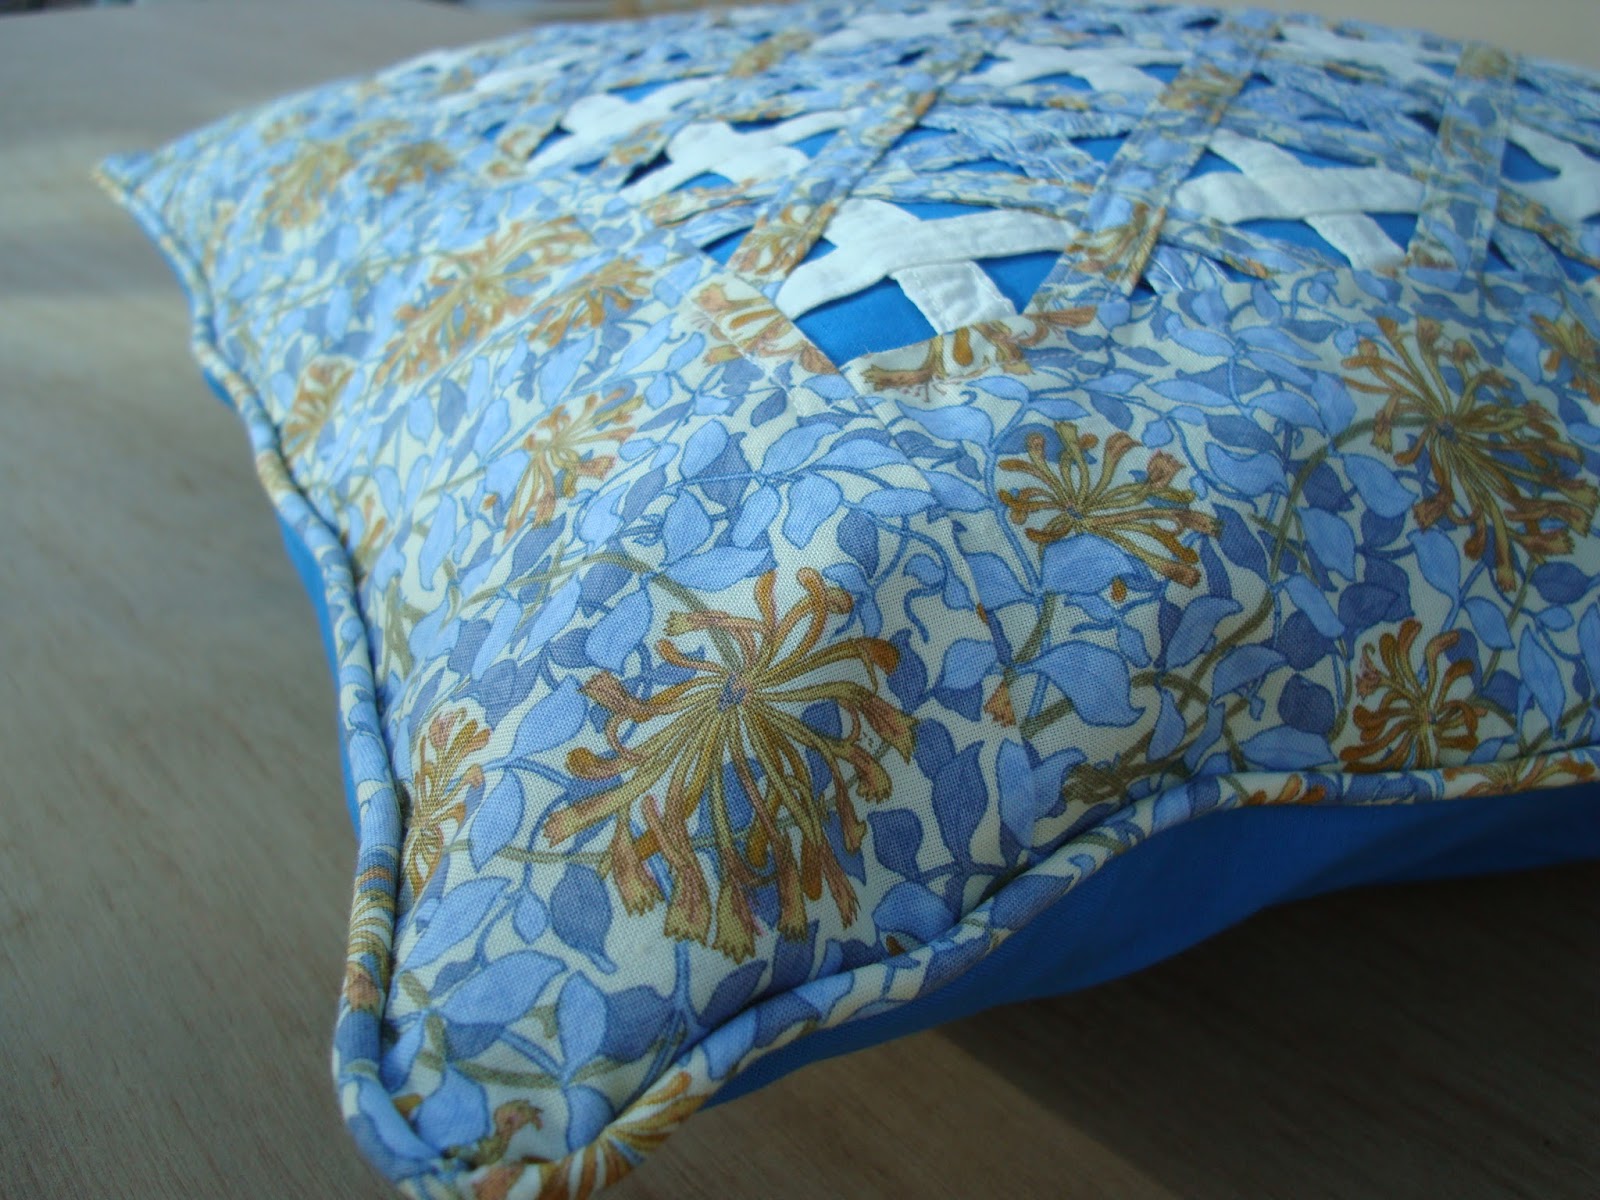
I completed the woven cushion cover and it is now waiting to be added to the collection of raffle prizes for Pinfold. The lining fabric was a piece I had picked up in Ikea, and the cushion has the same fabric as the back. This is an envelope back which means that the cushion inner can just be pushed inside and there doesn't need to be any fastening. I have added piping too, just to finish it all off.

Completed cushion front.
It is quite a big cushion being 20 inches square. Cream calico, the lighter blue fabric is Fabric Freedom's "F435 William Morris Mix", whilst the main fabric is Fabric Freedom's "F433 William Morris Mix".

Monday, February 01, 2016

Knitting, stitching and going to a workshop

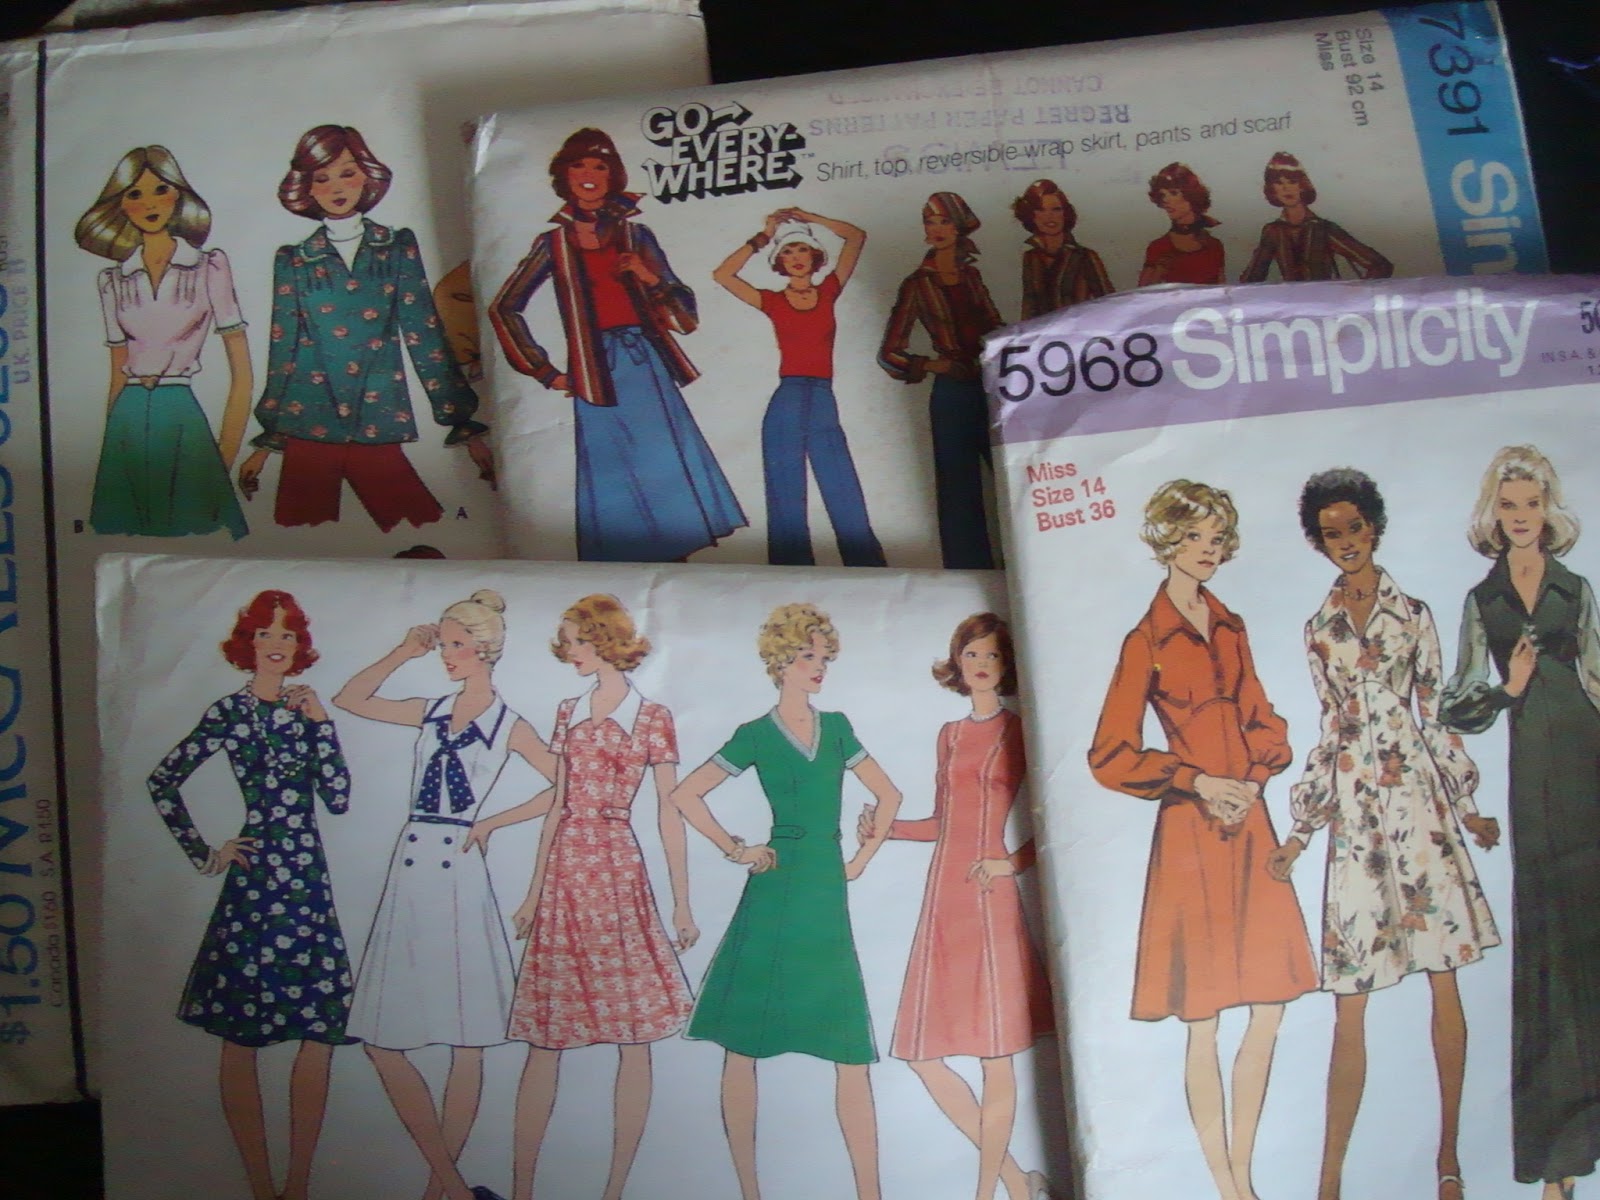
Some patterns I have been given
A few weeks back I was given a small collection of vintage patterns, four of which you can see here. I realised that I had never shown anyone my collection of patterns. I haven't counted recently just how many there are:

Most of my pattern collection

Yes, it is all in sections
The patterns here are the standard sized ones. There are a few large patterns which live in a bigger drawer. They are just too high for this one.

My current project yarn as well as some for the next three projects planned
I've been tidying up my knitting yarns too. This small box lives in the living room alongside the settee where I normally sit. I use it to plan ahead, adding any wools, patterns and other supplies I might need for my current knitting project and also the ones I plan to do next. At the moment, the plan is for these skeins to complete my current jumper, then for a pair of long socks (light brown), and couple of pairs of socks or gloves in the remaining four ply yarns above (all shades of green).

I finished the top, as shown in the last post. Then cast on with this next project from December's "The Knitter" magazine. You can see the design photos from the magazine here. It is knitting up really nicely so far, with only a few rows ripped back. Yes, I always get something wrong somewhere. It is quickly remedied most of the time. In the worst cases, I end up ripping back and starting again.

Design ideas - basic leaves
Last week I went to a full day workshop with Judy Fairless. She is a very talented textile artist, and an excellent teacher. She lead the session, giving a wide range of ideas to experiment with during the day. Our topic was "Drawing for Design". A really interesting time was had by all. I started using some small leaves I had brought along, tracing them and developing a couple of block ideas.

Blocks designed from a small section of the design above
A design idea based on the block patterns

More ideas based on the same blocks
I really enjoyed myself and plan to turn these ideas into actual printing blocks before too much longer.


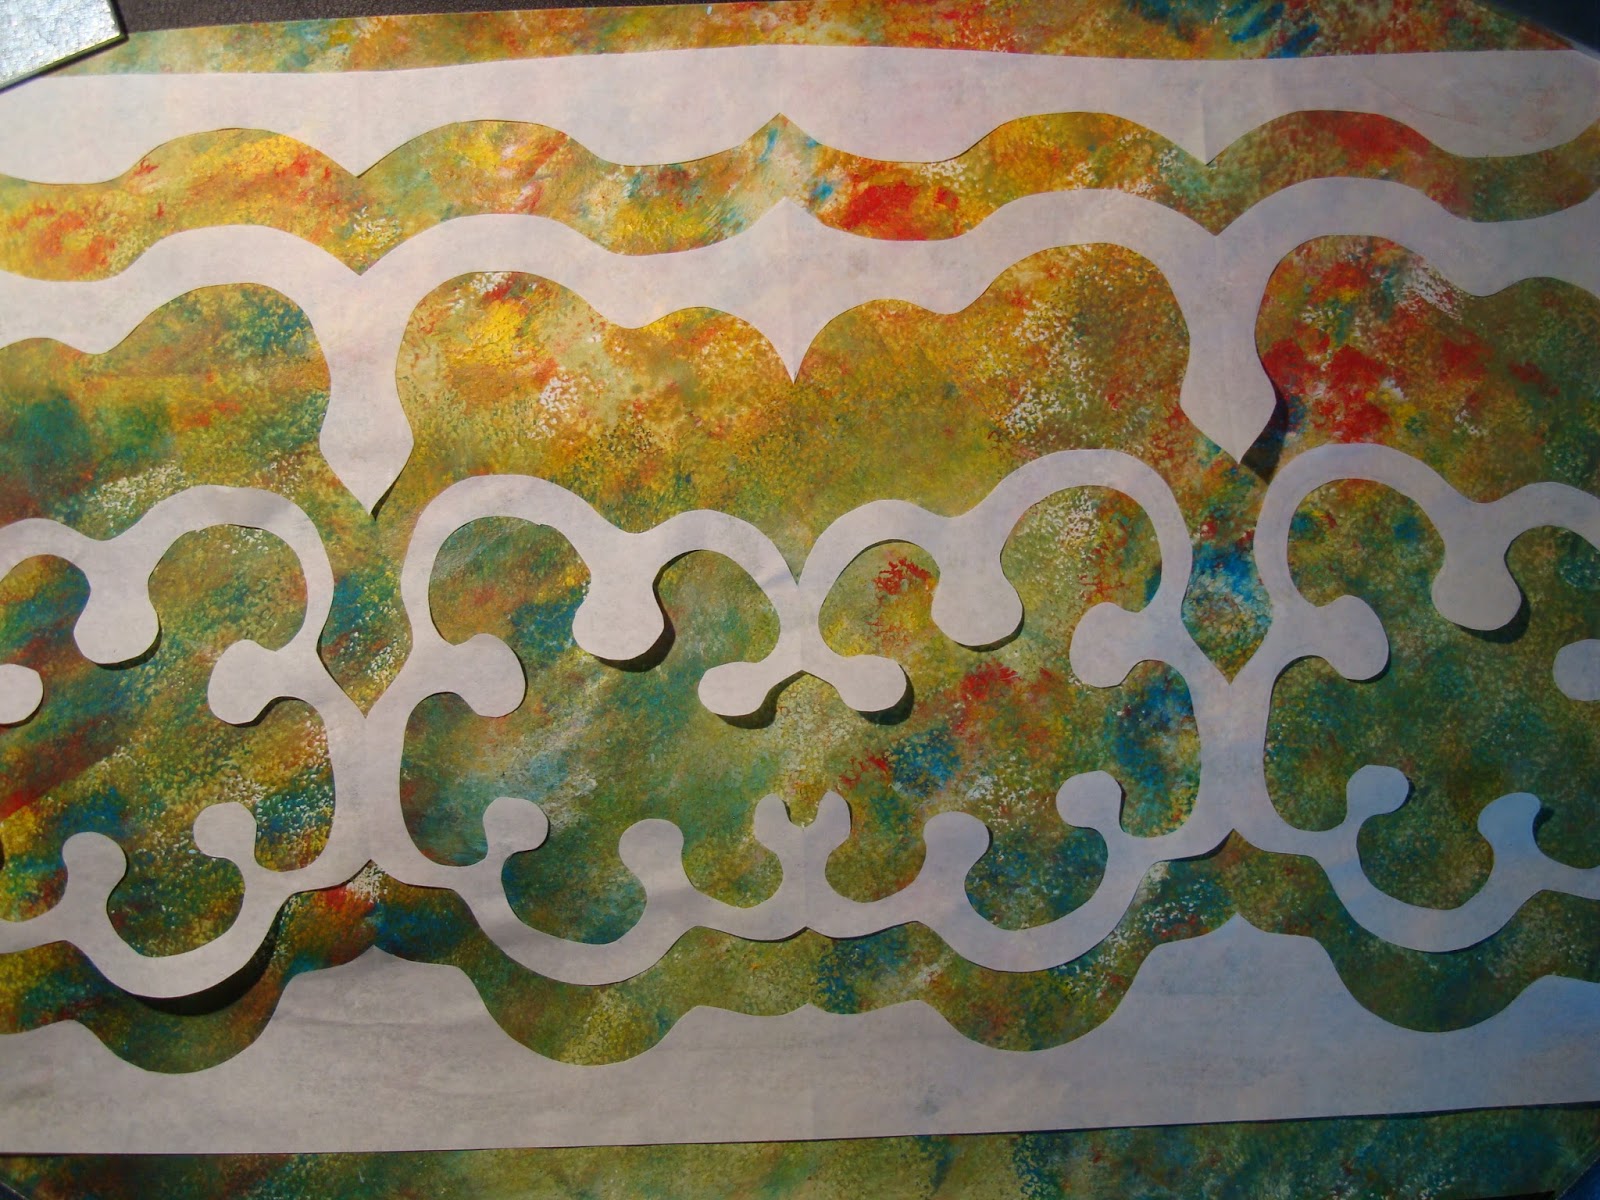
Using cut out paper 
I also made some cut out paper patterns. Instead of using plain paper, I decided to paint some background paper using watered down acrylic paint.

 The background paper

The remaining cut out pieces
Such a lot of fun. It gave me plenty of ideas for a challenge piece I need to complete for next Wednesday. Yes, I still haven't managed to get out of finishing everything at the last minute.

The elements I had taken to the workshop
I had started out drawing the bits of bark (Silver Birch), beech nuts, and beech nut case shown above. However, I really couldn't see any way of getting these items to work for me. I did get a lot out of the workshop and it has taught me a lot about using any drawings I make.
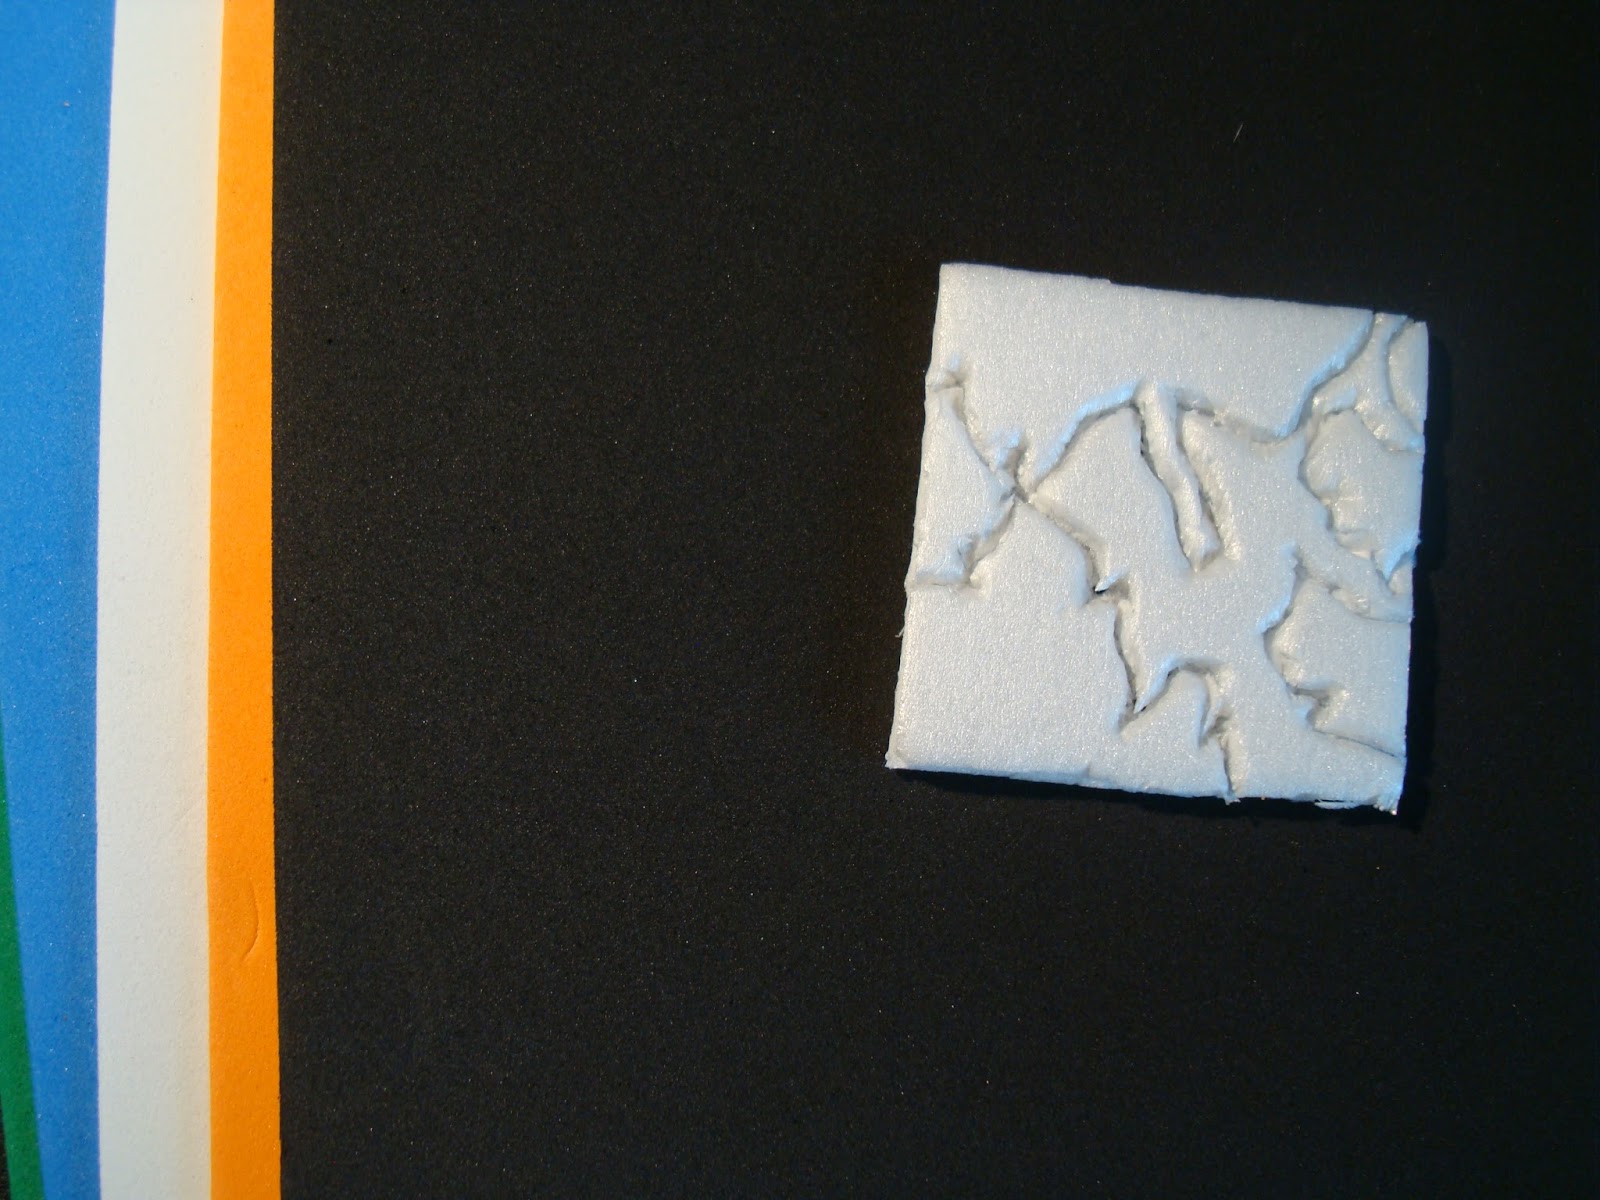
Towards the end of the session, I made an experimental block from pizza packaging - the polystyrene type. Not sure that it will work, but it is worth a try. This one is sitting on a collection of thin craft foam pieces. I intend to make some more blocks from this.

A block made from packaging
Well. I had better get on with things. I have rather too many ideas running round my head at the moment. Sorting out which one to start first is a little problematic. Perhaps working on the ones which need to be finished first might be the best idea. Wish me luck.


Sunday, September 29, 2013

Dyed fabric.

Pale colours

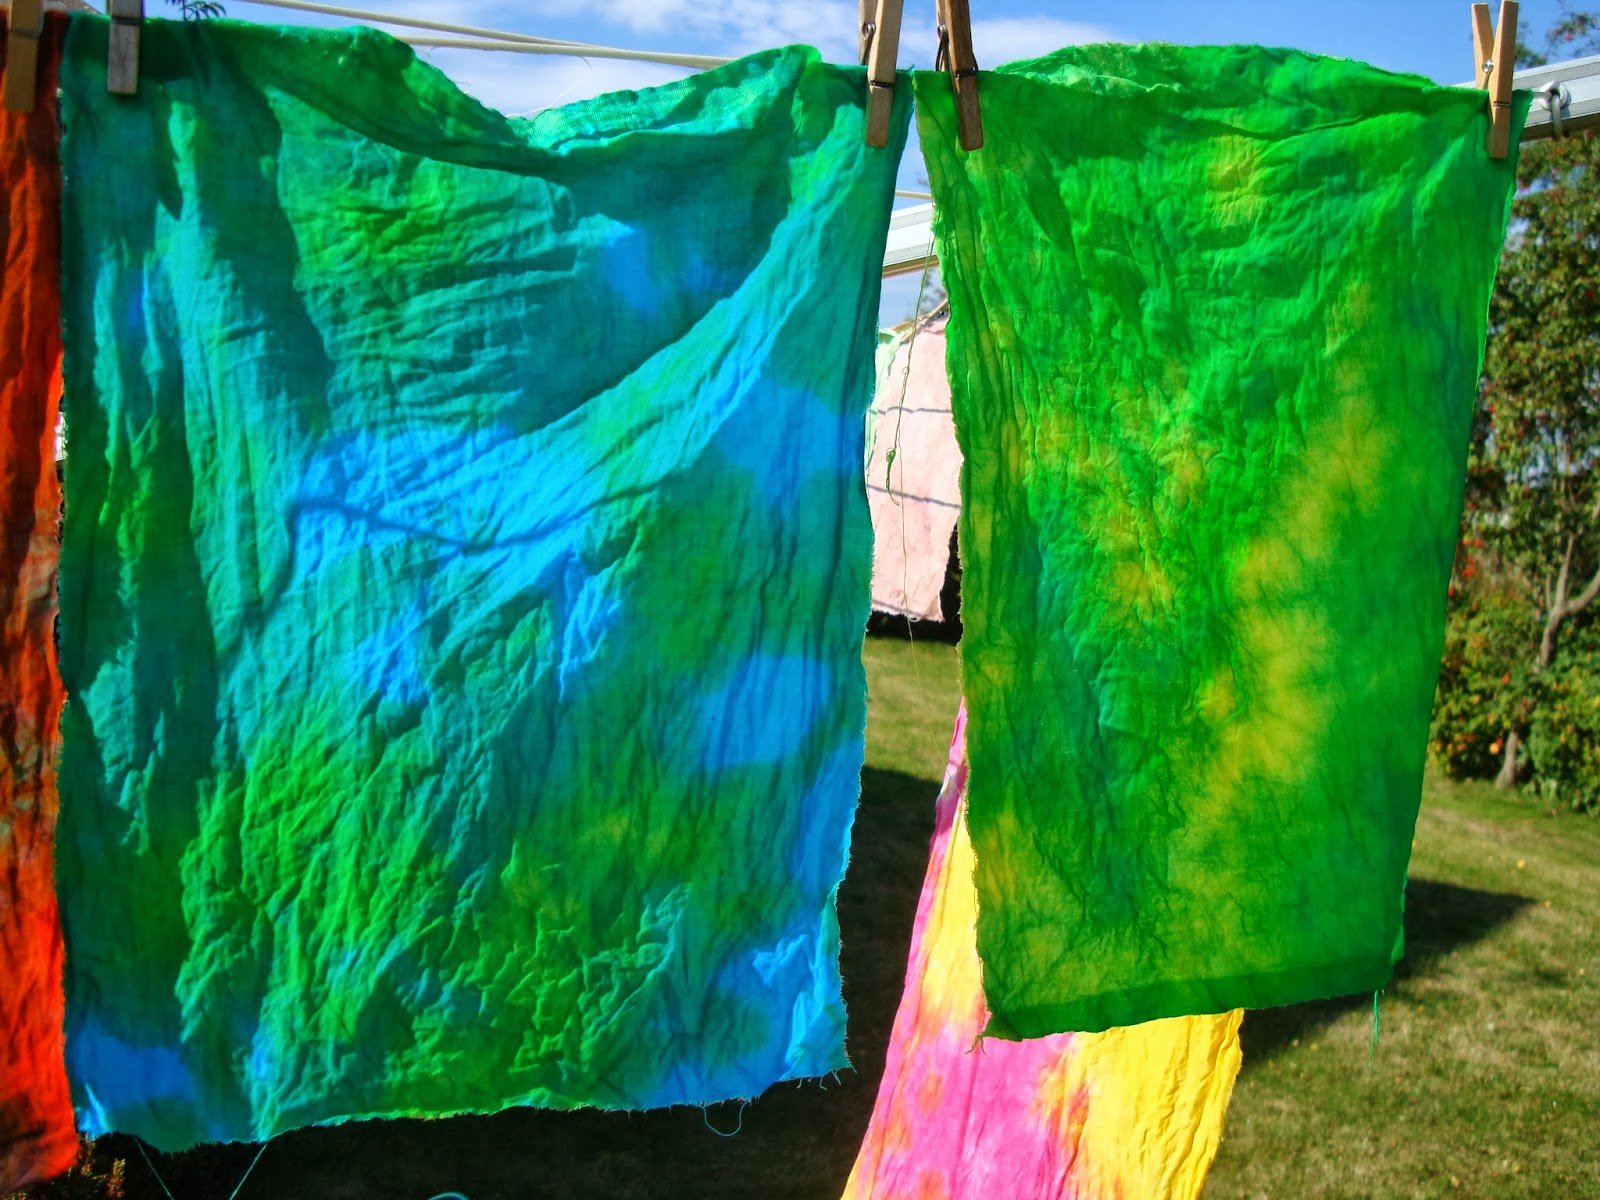
All the following photos show my fabrics drying on the line after being washed and removed from the packaging. These freshly dyed fabrics were completed during the Dyeing Day lead by Sandra Wyman last Thursday. It was such fun!

Shibori before I removed the string and container

Shibori being washed

The fascinating thing about my Shibori experiment - tying fabric around a shape and crushing this down before dyeing - was that the yarn I used for tying the fabric has also stained the fabric it touched addin a really interesting pattern.

Parfait dyeing
Not my usual choice of colours, but this bright piece is great fun.

More parfait dyeing
I find it amazing that two pieces of fabric dyed together can be so entirely different.

Allowing dye to find it's own way
These four pieces of fabric were dyed in teh same tub with dye being added after each piece of fabric was scrunched into the pot. I just love the way the colours have come out on these.

Mixing two colours - red and green.
The colours here are just so vibrant. I shall really enjoy having these pieces in my stash ready to use.

allowing blue dye to wander and find it's own way

These fabrics were all dyed together another parfait experiment.
This collection is a mixture of cotton, silk prepoline, and silk velvet. The silk velvet is the amazingly marked piece between the sheer fabric and the blue.

Mixing two colours - purple and green

Overdyeing with black
If anything didn't work, it was this piece. However, as it continued to dry, the colours changed again. I shall photograph these pieces after I have ironed them. The small piece is a piece of viscose satin, which has taken the colour really intensely. These will be wonderful bases for a printing session.

Friday, September 27, 2013

Catching up with sewing projects.

The past few weeks have been very busy. First, I had to remove the old cover on my small printing board. It had just got to the end of it's useful life and I was due to go and help out with the crafts at a birthday party last weekend. I had offered to teach anyone who wished ti have a go, to print on fabric.
My old cover for the small printing board.
It was quite interesting. I only ended up with a couple of people actually wanting to have a go, but quite a number coming along to look and see what I was doing. I had taken all my fabric paints, printing blocks, thermofax screens and a lot of fabric. One man was really taken with the idea of printing that he spent some time with me and was delighted to take away a carefully decorated piece of fabric. Sadly, I just did not take any photographs, I just didn't have enough hands. You may be surprised to hear that this was a friend's 50th birthday party, and it all took place in her garden. The nice thing is that she had a go too and gave me a lovely bouquet of flowers.

September challenge for the Sky's the limit group - "Change".
Last week was filled with completing challenges ready for deadlines which were looming. The first to be completed was the chameleon on my Sky's the limit piece. I still am not fully convinced by this piece, mostly because I made a mistake with the stomach area and had to add a piece of fabric to cover a piece which was really far too dark. I feel this needs much more work than I can do at present. What do you think? I call it "Change, alter, adapt". It is calligraphy using up my old fabric dye pens which were drying out over a dyed piece of fabric made some time ago. Over this is a piece of scrim which has then had a bobbin work drawing stitched in place. The whole piece has then been quilted onto a wadding base.

For Wednesday, I had to complete my last piece for the Chinese Whispers challenge. This has been going on since last September, but I haven't been able to post about it before now.


The original photo - underneath the Tay Road Bridge, Dundee, Scotland.

It all started with a photograph. I took this during the Quilters' Guild AGM and Conference held in Dundee, Scotland in May 2012. It is a view looking through the pillars of the bridge. I was very lucky with the light conditions on the morning I took this photo. It had been extremely foggy earlier on.

My piece based on the Tay Road Bridge.

I must admit that I wasn't very happy with my own piece, feeling it is just too simplistic. However, at the time I just didn't have the time to make a more complex piece. I feel it would be wrong of me now to replace this piece with something else since my next challenge now that I have had all the pieces back from everyone else taking part in the challenge is to make a book with all the pieces I have. Hmmmm.

Chris' piece - designed from my textile piece.
I passed my textile piece on to Chris. We had been instructed to pass everything on to the next person hidden in an envelope to hide it from everyone else taking part in the challenge. We would only be allowed to see all the pieces at the end of the challenge.

Chris' note attached to her piece reads, "I found this quite difficult to know what to follow on with at first. However, two things came to mind - a ploughed field and a wooden door, or floor. Decided to use the pattern I had for a foundation pieced house and make the door of wooden slats!"

My main difficulty was that Chris' house was landscape in orientation and not portrait. However, that adds a rather interesting challenge in itself.

Mary's piece - designed from Chris' piece.

The next piece came from Mary who made this enchanting quirky castle. She had only seen Chris' foundation pieced house, so her block is also landscape in orientation. She wrote, "The log cabin reminded me of a house and an English Man's House is his castle so I did a quirky fairytale castle in applique."

Bernice's piece, designed from Mary's piece.
Seeing only Mary's design, Bernice completed this piece. She wrote, "The castle that Mary passed to me caused me to think of knights of old. Then when wondering how I cold depict my thoughts, I came up with the idea of making it a fun picture just suing simple applique techniques."

Brenda's piece designed from Bernice's piece.
Brenda wrote, "After seeing the crusader with such an aggressive stance it conjured up ideas of what or who he had rousted. So we had to have a knight fleeing on a horse to gain the safety of his castle."


Rosemary's piece designed from Brenda's piece.
 The last piece to be completed was Rosemary's. She had organised the challenge for us all and kept us to time as well. Not easy since we met every other month to exchange pieces. Each time we each had a piece for someone else's Chinese Whisper. In my next post I really must put together the photos of the pieces I made for each of the others involved in this project.

Going back to Rosemary's piece for me, she wrote "The picture is of a castle in Guimaraes, Portugal. We went there on th last day of our holiday. The figure is D. Alfonso Henriques. He won the battle of Sao Mamede which paved the way for the foundation of Portugal. The castle was built to defend the monastery and Christian Community from the attacks by the Moors and Normands, so I decided to use my holiday memories as a basis fo the Chinese Whisper piece. It is hand stitching on appliqued background with the knight on a separate piece of the applique fabric stitched in place by matching the background stitching."

As you can see each piece is a superb item in it's own right, all very different and now my challenge is to make a book which will retain the quality of each of the pieces I have been given and yet will make a book which works as a whole piece in it's own right. Not easy!

Thursday brought a very different day. I met up with other members of NWCQ and we had a wonderful day of learning different techniques of dyeing.

Freshly dyed fabric waiting for me to get around to washing it all.

Our teacher for the day was a good friend, Sandra Wyman who is an expert dyer and great fun to be with. I was extremely saddened to hear that she too had lost a very dear furry friend very recently. She wrote a very moving post about the loss of her dear cat. Do go and read it.

Now all that is left for this month is for me to complete my Journal Quilt for September - it has been started and just needs to have the stitching completed before it is ready for posting. Then I must get on and wash all the fabrics which I had such fun dyeing yesterday. Thanks Sandra.

Sunday, June 09, 2013

Printing and painting fabric.

Printed and painted fabrics.
It has been rather too long since I added a post to this blog. Things have been crazily busy here. I still keep stitching and have been knitting too whenever I have had a spare moment. I shall post about those another time. Visiting my friend Hilary the other day, I was only able to take a couple of things along with me. Items she had not seen. It was a few days later when I got around to getting some ironing done that I rediscovered some printed and painted fabric which I had completely forgotten about. As you can tell, I really don't do any ironing very often - unless it is ironing new fabric after washing it for the stash.
These pieces were made during a rather enjoyable day spent with the NWCQ group. We spent some time printing fabric - I took along my thermofax screens and some stencils, a collection of previously printed and painted fabric and my print board.
Thermofax printed onto painted gauze.
Stencil onto previously painted gauze.

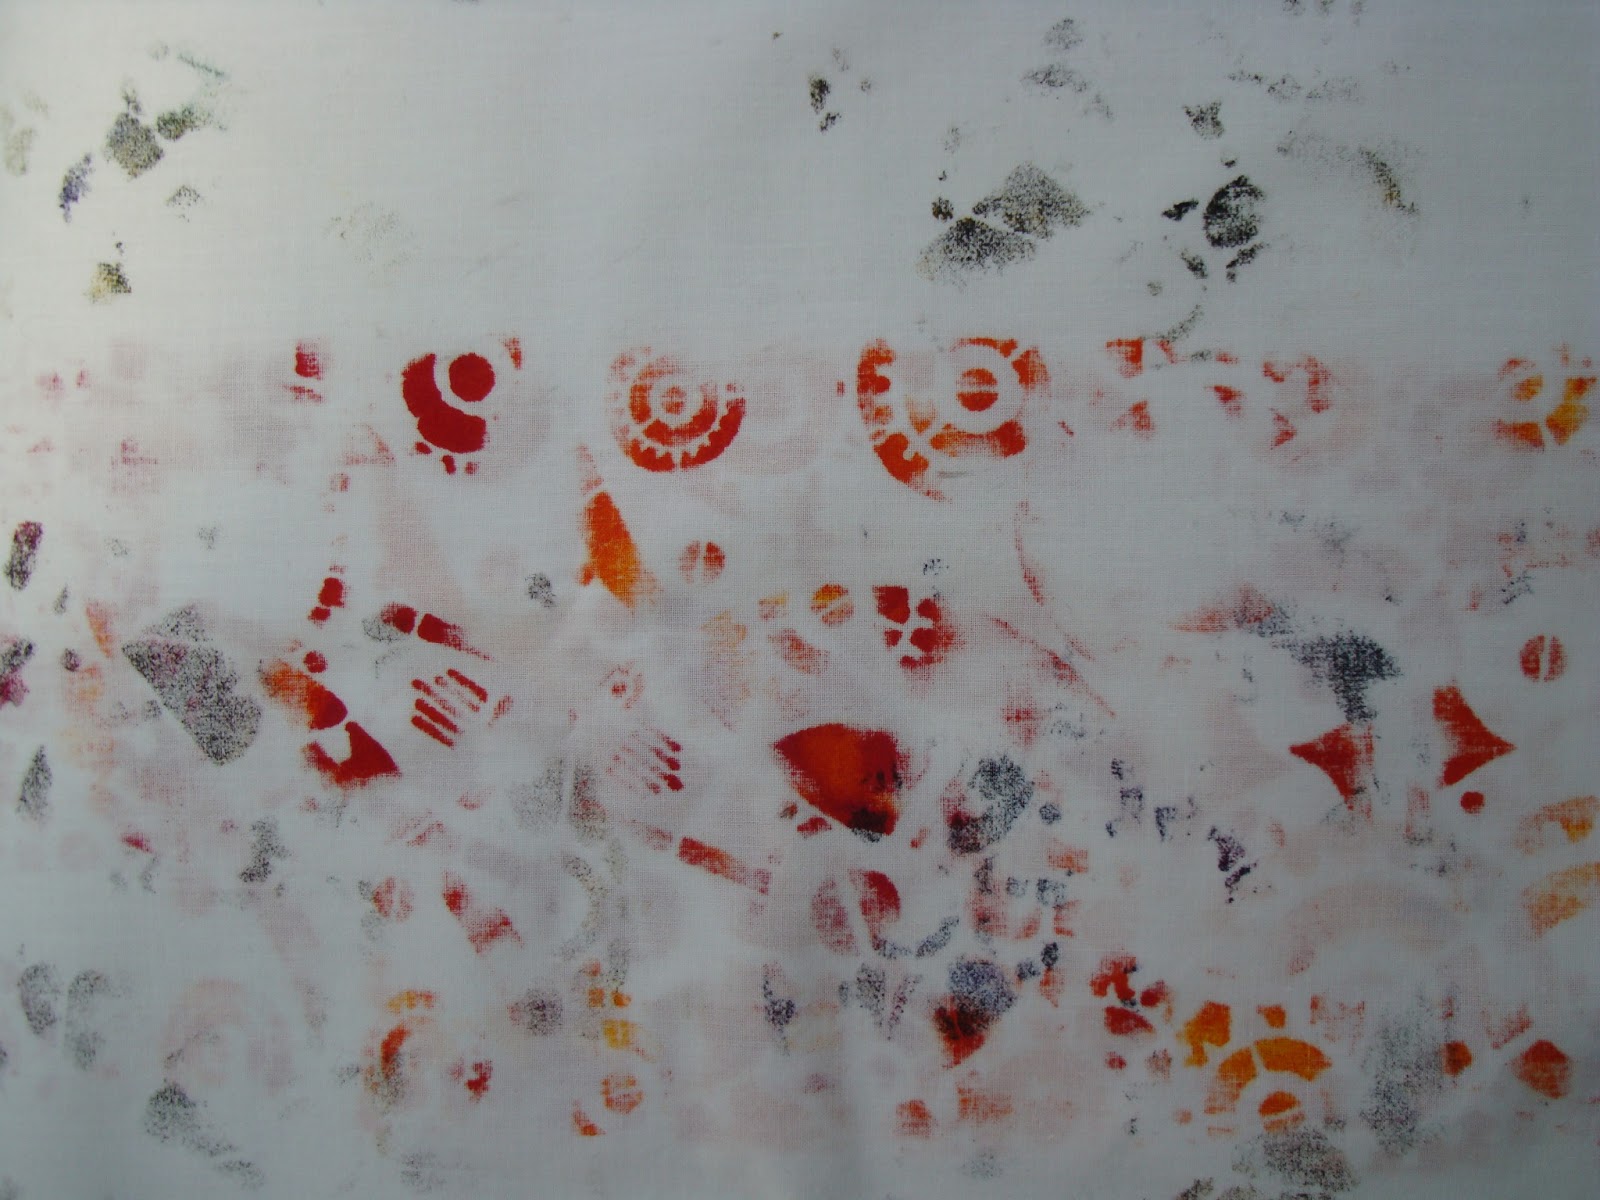
 Well, my print board got a little damp after printing the cog wheels stencil above, so I used one of my pieces of salvaged poly-cotton (an old valance) as an additional dropcloth. I folded it twice to print this:


Stencil onto previously painted gauze.

Dropcloth after printing the gauze above.

Second layer of the dropcloth showing dampened original dropcloth leaking through.
 As you can see the results were really interesting. I shall be keeping this impromptu dropcloth on one side for further printing and painting.

Old dropcloth overprinted using thermofax screen.

This last piece of the day still needs some work, but is developing in a rather interesting way.


Completed book pages for the Machine Embroidery Group. Brenda's theme is "Flora and fauna".

"Breakthrough" completed journal quilt for the Sky's the Limit group.

There have been other pieces completed, but I won't bore you with them here. At present I have started work on a quilt which I hope to complete in time to be entered for the "Horizons" challenge for the Contemporary Quilt group. It is full of pins at the moment so I haven't taken a photo - maybe next time.

Thanks for reading. I shall be back.