Thursday, February 25, 2016

Journal quilts, butterflies and bright covers.

Alsager Creative Stitchers butterfly piece
I finally finished a piece started earlier this month. It is part of a challenge for Alsager Creative Stitchers. This year their theme is "Butterflies" so the idea is to create a piece inspired by whatever has been happening at the meetings. The speaker at the last meeting, Sue Boardman specialised in collage pieces, especially using paper collage. This was my interpretation.

Closeup of the butterfly
I also decided to take part in the Journal Quilt challenge laid down each year by Contemporary Quilt. This year, the JQs are to be 8" by 10", portrait. The first four to have a square of purple somewhere within the design. I have based mine on the "Pattern" theme. This is because, as a member of NWCQ, a local textile group, I am going to follow their theme for this year, which is "Pattern." The fabrics were printed and shown in my last post here.

Four journal quilts - from left to right: January, February, March and April.
As you can see, I am a little ahead of myself since I only need to post one little quilt each month. I now have to decide on the designs to use for the May to August quilts. These need to have a green square. Since these first four were based on leaves, perhaps the next should be flowers? I could then use seeds and fruit for the final four. These last four will need orange squares. I need to start planning.

Pillow cases for a new double sleeping bag.
I spent a delightful couple of hours yesterday sewing pillow cases for four inners which I bought from Ikea. I just happened to have some red cotton fabric, also from Ikea, in my stash. These are to go with the new double sleeping bag which was bought the day before to replace our old sleeping bags which were embarrassingly elderly.

Turkish felt sample
Last Friday, I was really lucky to go to a workshop on making Turkish felt. This was my first attempt and I am really pleased with it. The felt is worked upside down, with the design put together first being placed face down on bubblewrap. After this is done, a piece of fabric is placed over the top. Mine piece is around 30cms square. Then two layers of wool tops are placed on the top. After wetting with cold, rather than warm water and soaped, the piece is gently rubbed until the fibres start migrating through the fabric. My piece has two layers of a deep red for the back, hence the reddish tinge to the fibres coming through. It is a much slower process than the usual method, but quite fascinating. I really think that I shall try this again.
I found myself wanting to add "when I have more time". This is really unlikely since I really enjoy being busy. Although that does sometimes end up with being rather too busy with too many projects either being attempted, or too many being planned. Any advice out there on time management?

Thursday, February 18, 2016

Merrily sewing and printing.

January and February - overprinting in progress.
This week has been rather busy so far. There has been block making and printing as well as the completion of the cushion cover I mentioned last time.
Firstly, the printing and blocks. The design work for these was based on the workshop I went to a couple of weeks back with NWCQ. The group have "Pattern" as their theme for 2016, and I had worked with some leaves preserved since last summer in my flower press. These were quite small - field maple, for example - and I played around with the outlines. In the end I made three blocks all based on the leaf design.

One of my print blocks - based on leaves.
The blocks are made from craft foam, and stuck using double sided tape onto foam board. These were great fun to print with and stood up to the task very well.

March on the left with February - drying.
I found it interesting to see the different effects made by the different blocks - one was purely an outline, the others were negative images of each other. The block printing was completed on calico which had already been printed using a gelliplate.

April
My last piece used the two negative blocks on the same piece of fabric. I used two slightly different colours.
Experimenting with printing medium.
What made it more interesting for me, was that I used printing medium with acrylic paints. My fabric paint collection has almost run out and I have been looking for a different method of working. Some months ago, I had tried using the medium in a workshop with Gillian Travis. I found some in Hobbycraft. I did find it rather thick, so added water to get the right consistency for block printing. I haven't used this for screen printing yet. That will have to wait until a later date.
The pieces above will be my Journal Quilts for this year. They are layered and waiting for me to free machine a leaf design over the top. My sewing machine really needs a clean before I can start work, hence my prevarication - writing this blog post instead.

Completed cushion showing piping.
I completed the woven cushion cover and it is now waiting to be added to the collection of raffle prizes for Pinfold. The lining fabric was a piece I had picked up in Ikea, and the cushion has the same fabric as the back. This is an envelope back which means that the cushion inner can just be pushed inside and there doesn't need to be any fastening. I have added piping too, just to finish it all off.

Completed cushion front.
It is quite a big cushion being 20 inches square. Cream calico, the lighter blue fabric is Fabric Freedom's "F435 William Morris Mix", whilst the main fabric is Fabric Freedom's "F433 William Morris Mix".

Monday, February 15, 2016

A rather busy few days


Last week was really enjoyable and extremely busy - attending a workshop (woven cushion cover); giving a talk; giving a workshop (mixed media - focussing on texture). Oh, and I returned the quilt stands I had borrowed for the talk too. They will be needed by a group giving an exhibition very soon.

The talk seemed to go down well. I'd taken a lot of my quilts along for the audience to see and handle. They were very complimentary, which was nice.

The workshop on Friday, using the samples I showed last time worked well. We played with Lutrador and Tyvek as well as the Texture Magic samples I have already shared. I brought my heat gun along for the Lutrador samples and one of my irons used for the texture magic samples. Brenda lent me one of her irons for the Tyvek (protected by baking parchment). While my soldering iron was used for making holes in acrylic felt and some sheer fabrics I had brought along. A good time seemed to be had by all. With a lot of interest in exactly how the different materials reacted when heated. I know I learnt a lot from watching everyone else, as well as trying out a couple of ideas myself. 

The workshop on the Wednesday at Pinfold was great fun and I got quite a lot of sewing done.


Reverse of woven cushion cover
The base layer is a water soluble fabric. I drew a grid of lines over this ready for the sewing of strips. Three sets of strips have been added to the base in the photo above.

Adding the last strips
 At the time of writing this, the strips have all been sewn in place and the edging added. I have already washed the water soluble fabric out of the cushion cover and it is now drying in my airing cupboard ready for finishing. I'm hoping to get the cushion made up later this week. Tomorrow?
There are other projects partially made, like the butterfly block intended to be added over the paper collage fabric I showed last week. I haven't had time to work on these just yet, but plan to get some serious sewing done in the next few days.

Butterick 5662
At the weekend I spotted a couple of vintage sewing patterns in a charity shop and bought them. I can see myself making most of these items, including the pair of shorts. Making the trousers first might be a better plan since some trousers were rather loose fitting in the early nineties when the second photo was printed. The first pattern doesn't have a date on it, but it could easily come from the late seventies, early eighties. That waistcoat pattern could become a useful base for the patchwork waistcoat I keep thinking about making. I was challenged some years back to sew myself a patchwork waistcoat but never found the time to start one. Perhaps now is the time?

Butterick 4928

Tuesday, February 09, 2016

Preparing for a talk and a workshop

Samples for a mixed media workshop
I've been busily hand stitching this last weekend. These are samples for a workshop which I shall be leading on Friday. It is a mixed media workshop and will focus on texture.The samples are calico over Texture Magic. I shall be steaming one of these samples to show exactly what happens with this strange medium. It is a steam activated shrinking fabric which makes some really nice textural interest. I haven't done it with handstitching before, so this should be really interesting. It won't be possible to do machine stitching on the day. I'll post photos once I've shrunk this first sample. Then I should be able to post photos of the other samples I am in the middle of making. I really shouldn't have sat down to write this post.

Fabric bought from Ikea
Last week I had the chance to go into Ikea again. I bought this piece of fabric. It should make a really nice jacket. Not expensive either. I'd gone in to get some more black for the back of my African Crosses quilt. I really do need to get on with that one, especially since there are another three quilt tops which also need layering and quilting. I've decided this must be the year when I start delving into that pile of unfinished projects. 
Paper collage
On Tuesday, I went to Alsager Creative Stitchers. They had a talk from Sue Boardman called "Torn apart and Stitched up". She specialises in stitched paper collage. The challenge for the group this year is to make a butterfly each month inspired by the speaker. Hence my paper collage. I'm not keen on stitching through paper using my machine, so I scanned and printed the collage onto printable cotton.

Printed and stitched version of the paper collage
This is the result. I have free machine stitched all over it using a variegated thread. I'm going to applique a butterfly over the top. You will have to wait for the butterfly, it still resides inside my head. My sewing machine is now safely packed away ready for a workshop tomorrow - lead by Ann Spargo, we will be weaving fabric to make a waistcoat. Fun! Photos later.

ACS butterfly - first version
For the January meeting the members stitched a butterfly onto thin calico.  We were to use a straight stitch, so I have used backstitch. I have also added some beads. The outline of the butterfly itself was the only thing supplied, apart from the fabric. Such an enjoyable session.

Oh, preparation for a talk? Well, that happens tomorrow evening. It will be rather a busy day.


Monday, February 01, 2016

Knitting, stitching and going to a workshop

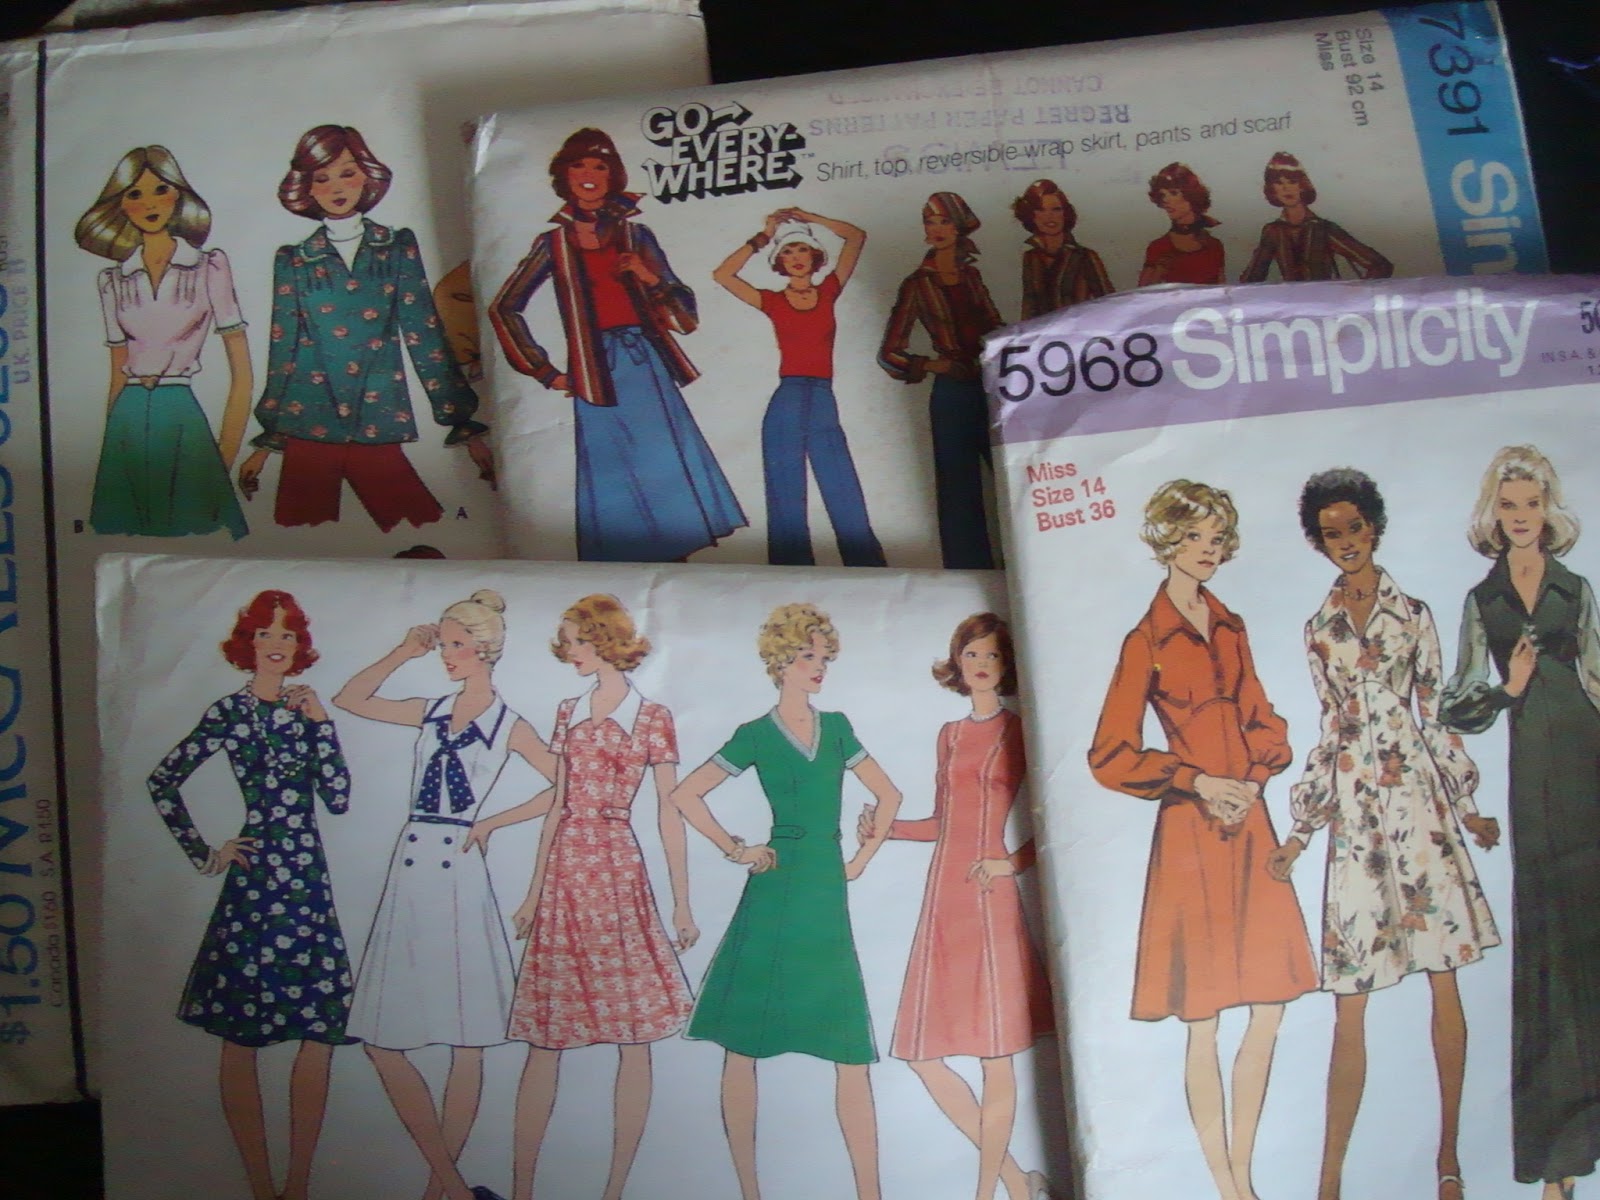
Some patterns I have been given
A few weeks back I was given a small collection of vintage patterns, four of which you can see here. I realised that I had never shown anyone my collection of patterns. I haven't counted recently just how many there are:

Most of my pattern collection

Yes, it is all in sections
The patterns here are the standard sized ones. There are a few large patterns which live in a bigger drawer. They are just too high for this one.

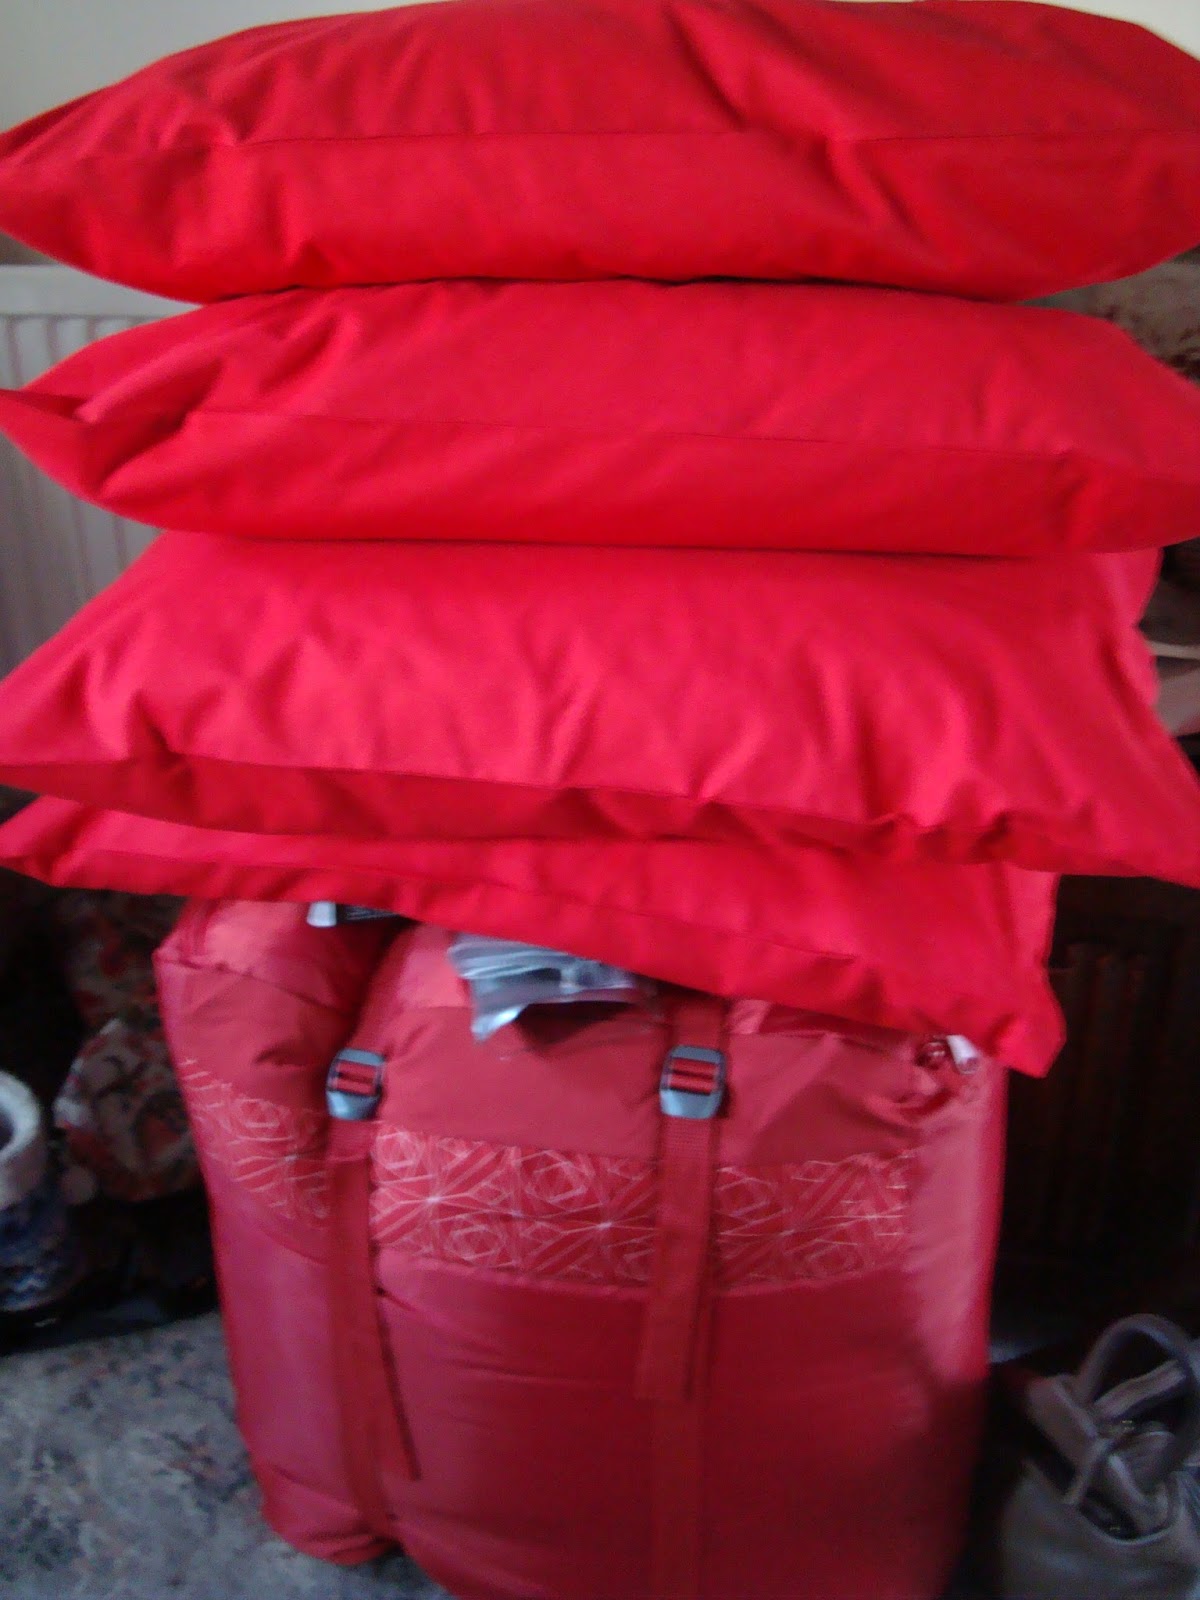
My current project yarn as well as some for the next three projects planned
I've been tidying up my knitting yarns too. This small box lives in the living room alongside the settee where I normally sit. I use it to plan ahead, adding any wools, patterns and other supplies I might need for my current knitting project and also the ones I plan to do next. At the moment, the plan is for these skeins to complete my current jumper, then for a pair of long socks (light brown), and couple of pairs of socks or gloves in the remaining four ply yarns above (all shades of green).

I finished the top, as shown in the last post. Then cast on with this next project from December's "The Knitter" magazine. You can see the design photos from the magazine here. It is knitting up really nicely so far, with only a few rows ripped back. Yes, I always get something wrong somewhere. It is quickly remedied most of the time. In the worst cases, I end up ripping back and starting again.

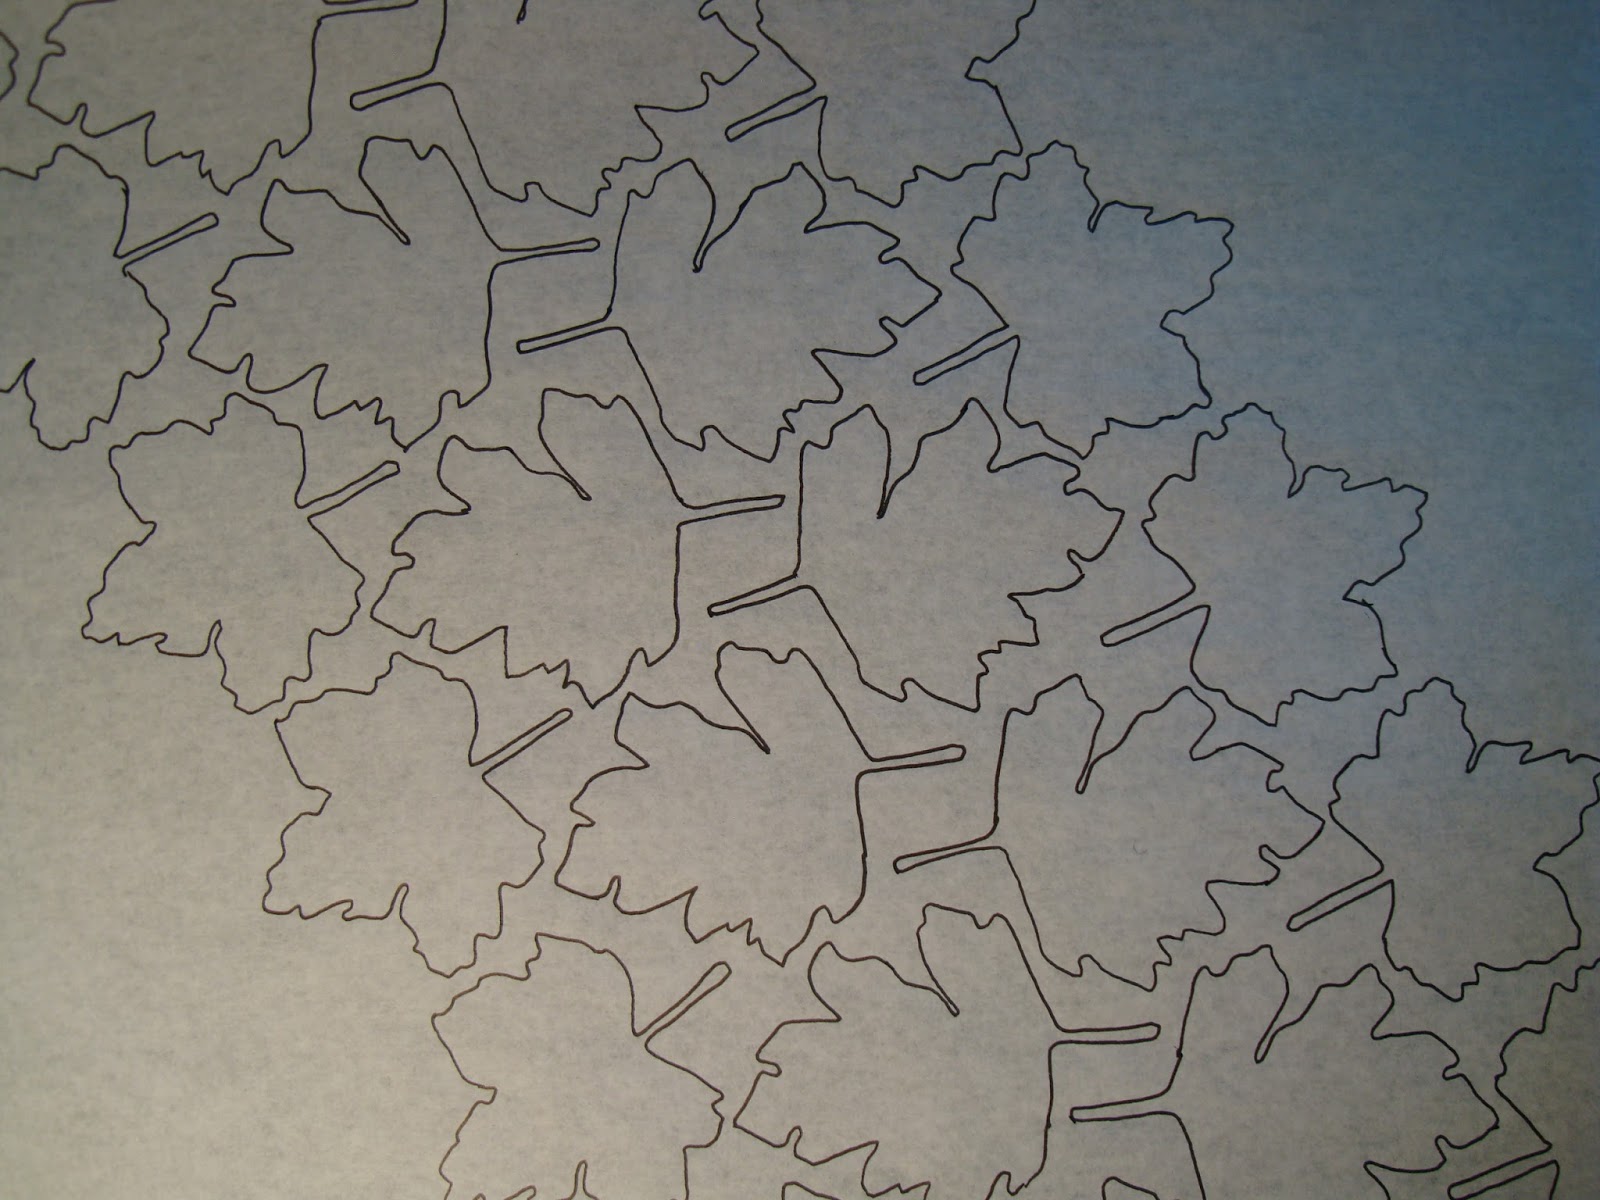
Design ideas - basic leaves
Last week I went to a full day workshop with Judy Fairless. She is a very talented textile artist, and an excellent teacher. She lead the session, giving a wide range of ideas to experiment with during the day. Our topic was "Drawing for Design". A really interesting time was had by all. I started using some small leaves I had brought along, tracing them and developing a couple of block ideas.

Blocks designed from a small section of the design above
A design idea based on the block patterns

More ideas based on the same blocks
I really enjoyed myself and plan to turn these ideas into actual printing blocks before too much longer.
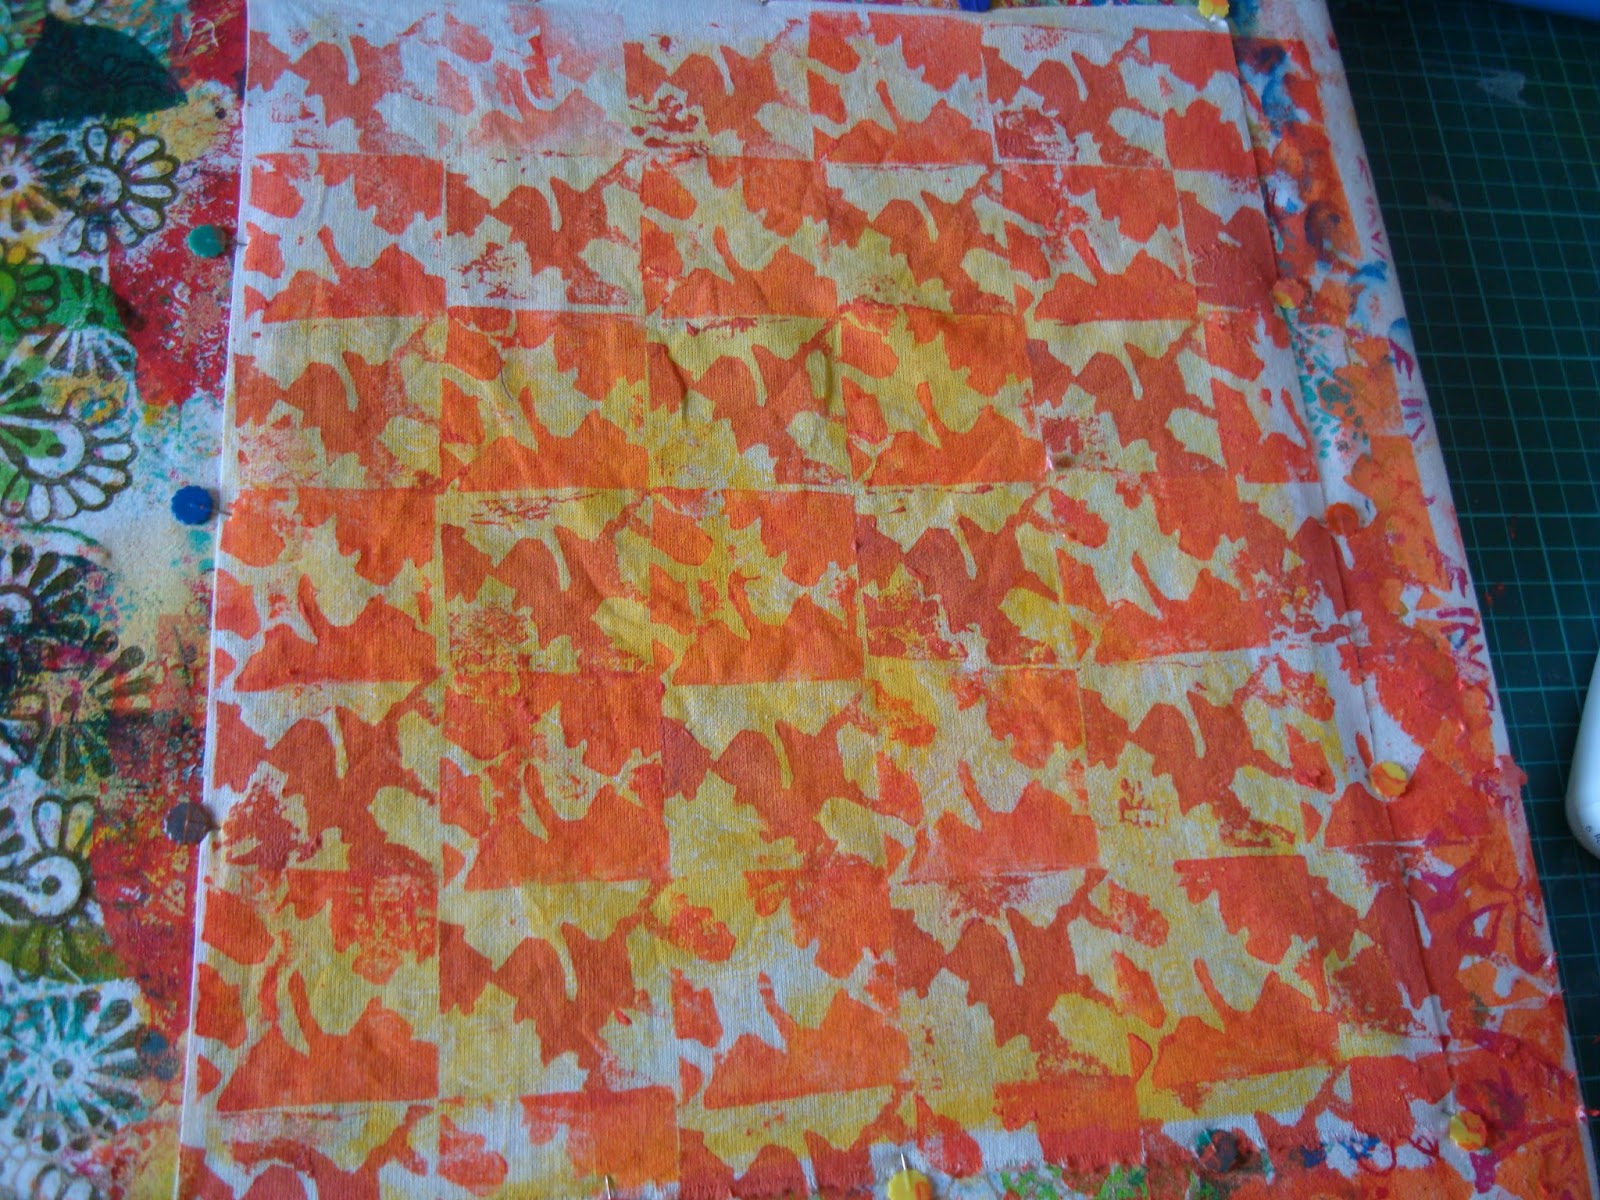
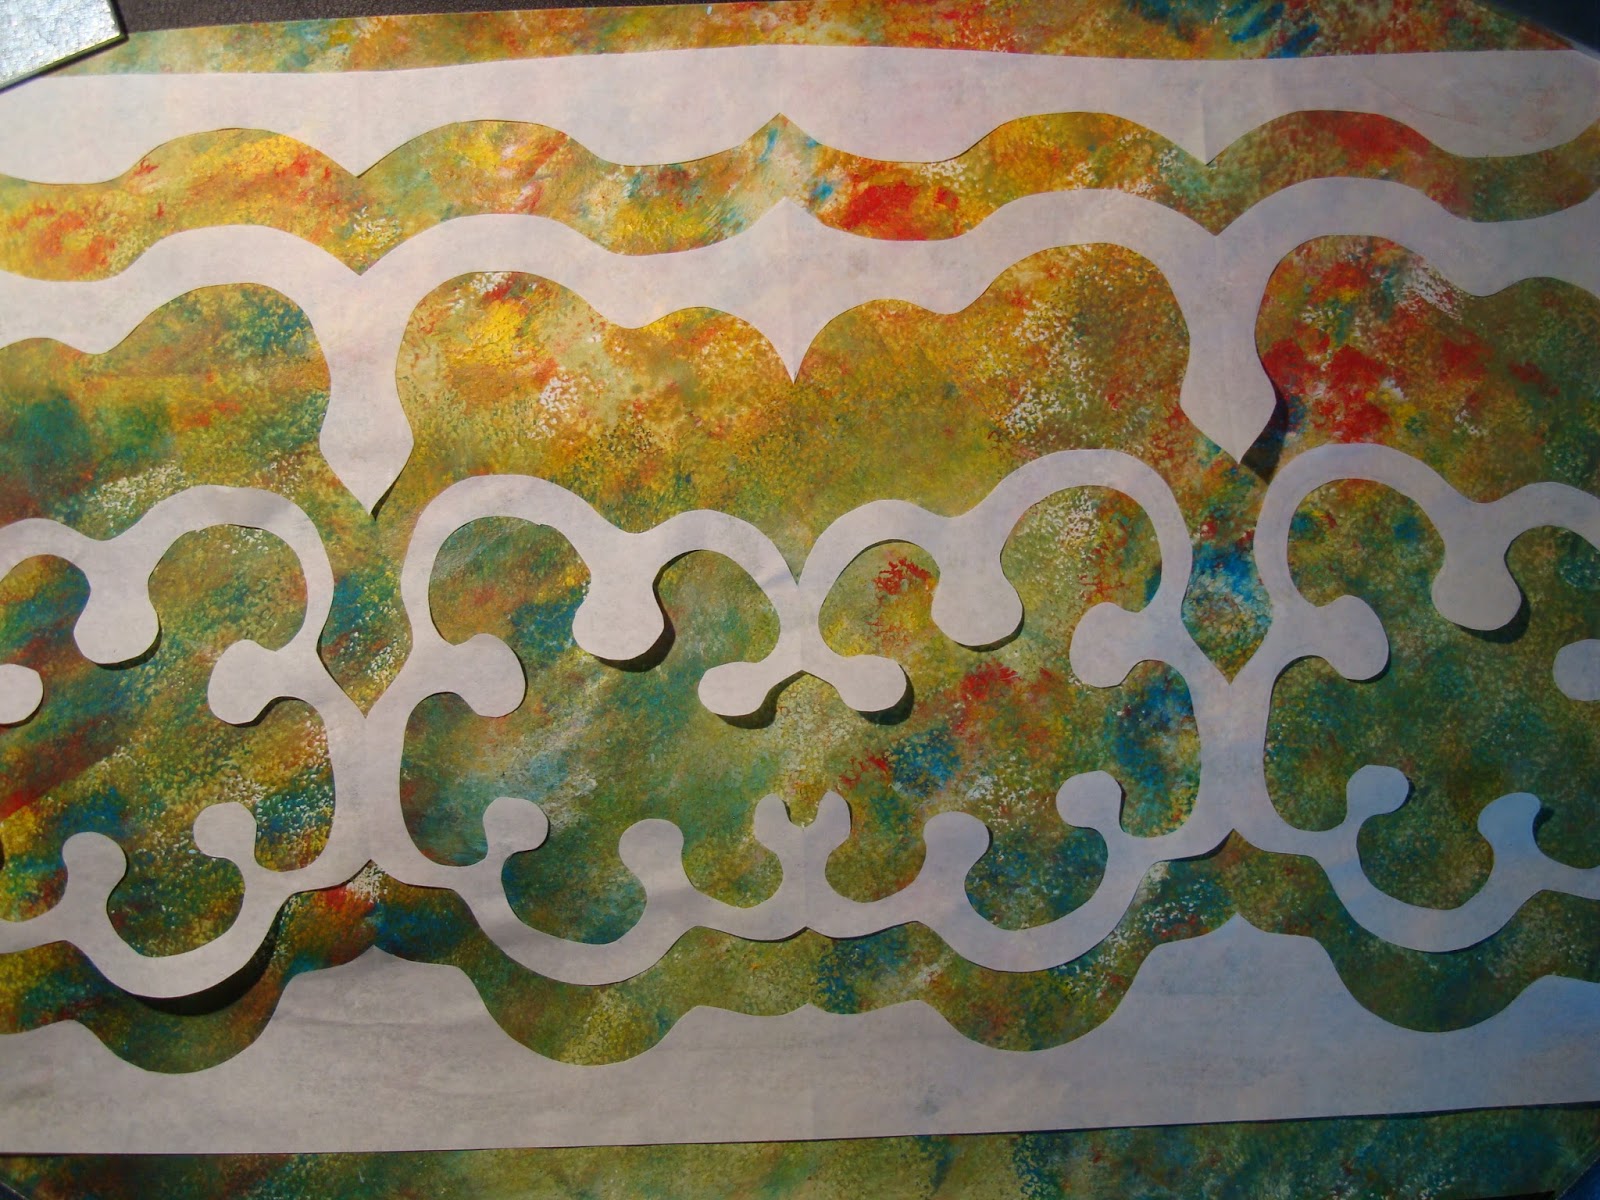

Using cut out paper 
I also made some cut out paper patterns. Instead of using plain paper, I decided to paint some background paper using watered down acrylic paint.

 The background paper

The remaining cut out pieces
Such a lot of fun. It gave me plenty of ideas for a challenge piece I need to complete for next Wednesday. Yes, I still haven't managed to get out of finishing everything at the last minute.

The elements I had taken to the workshop
I had started out drawing the bits of bark (Silver Birch), beech nuts, and beech nut case shown above. However, I really couldn't see any way of getting these items to work for me. I did get a lot out of the workshop and it has taught me a lot about using any drawings I make.
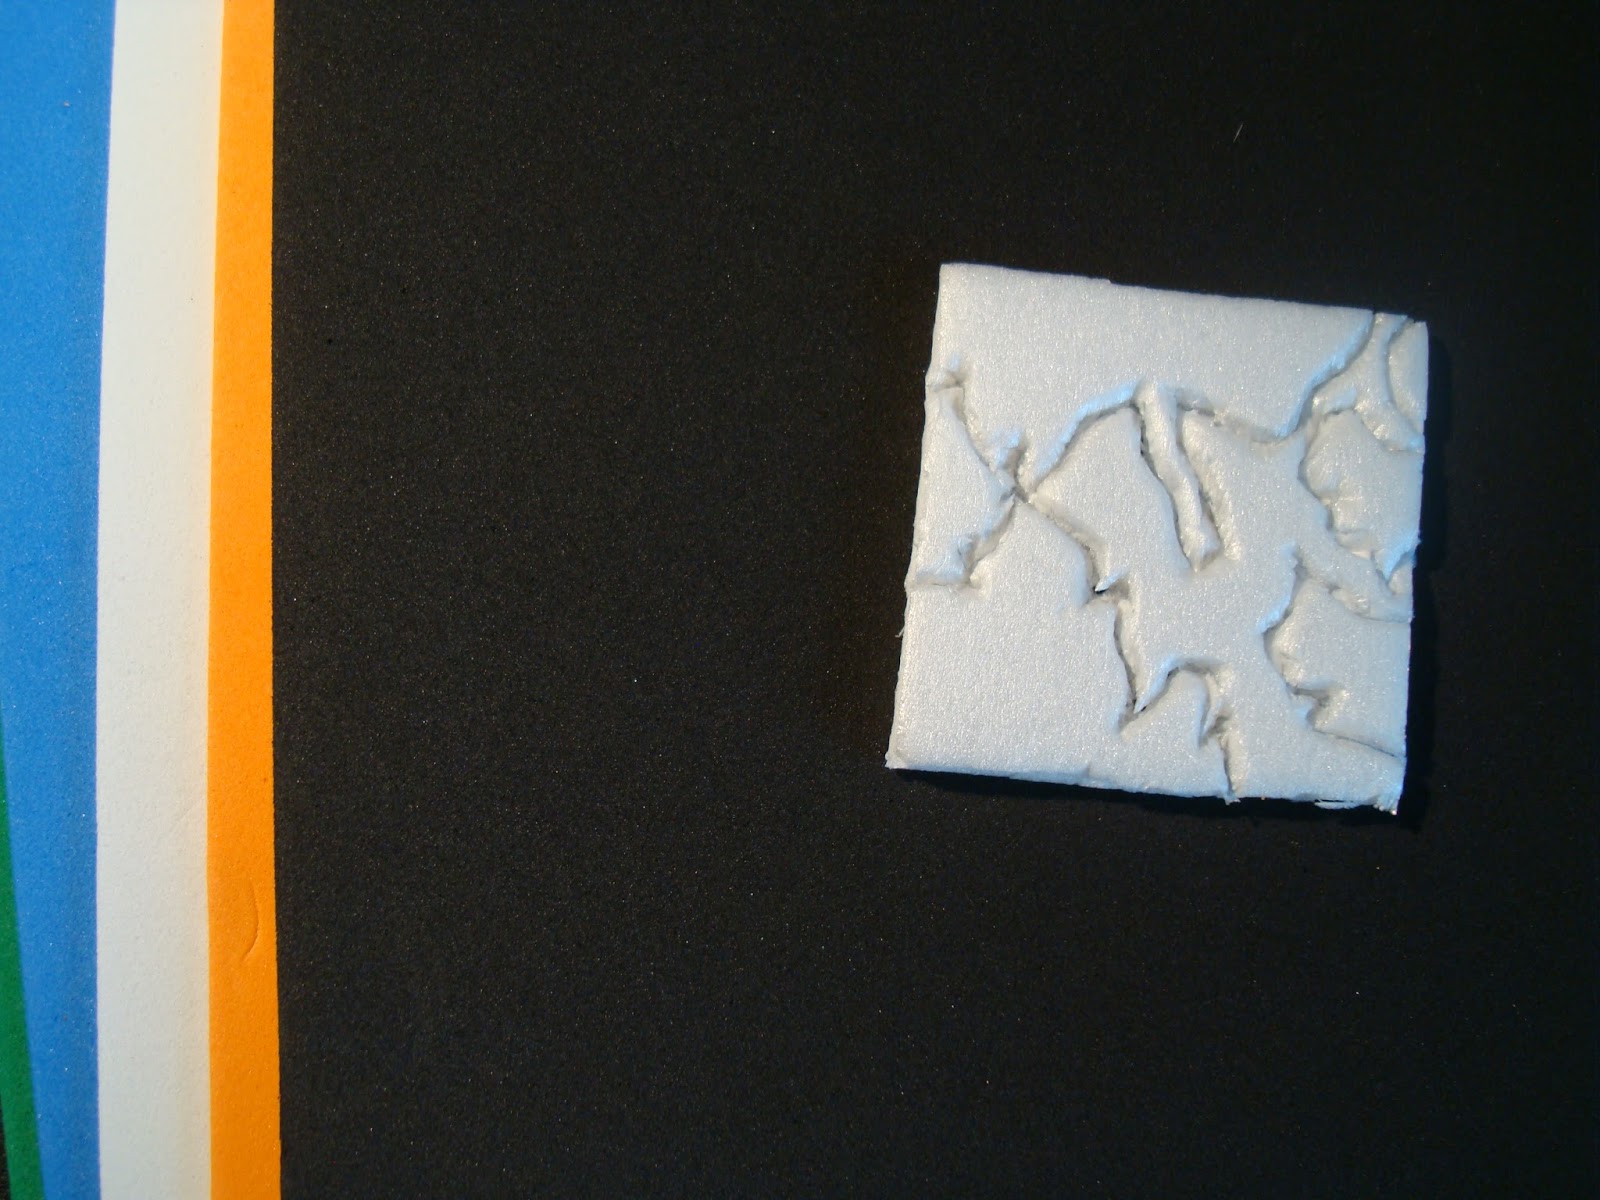
Towards the end of the session, I made an experimental block from pizza packaging - the polystyrene type. Not sure that it will work, but it is worth a try. This one is sitting on a collection of thin craft foam pieces. I intend to make some more blocks from this.

A block made from packaging
Well. I had better get on with things. I have rather too many ideas running round my head at the moment. Sorting out which one to start first is a little problematic. Perhaps working on the ones which need to be finished first might be the best idea. Wish me luck.